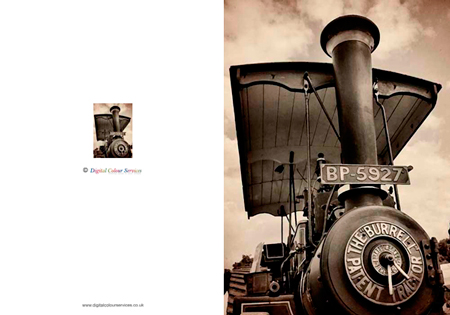
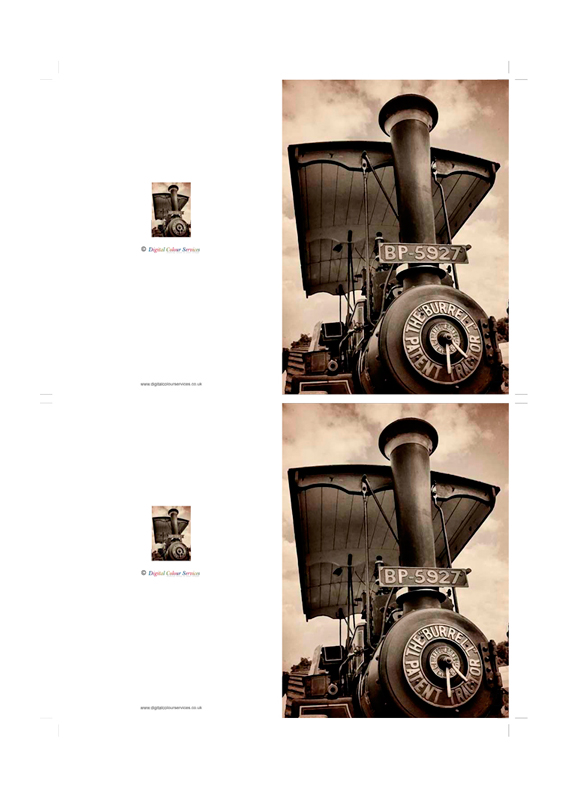
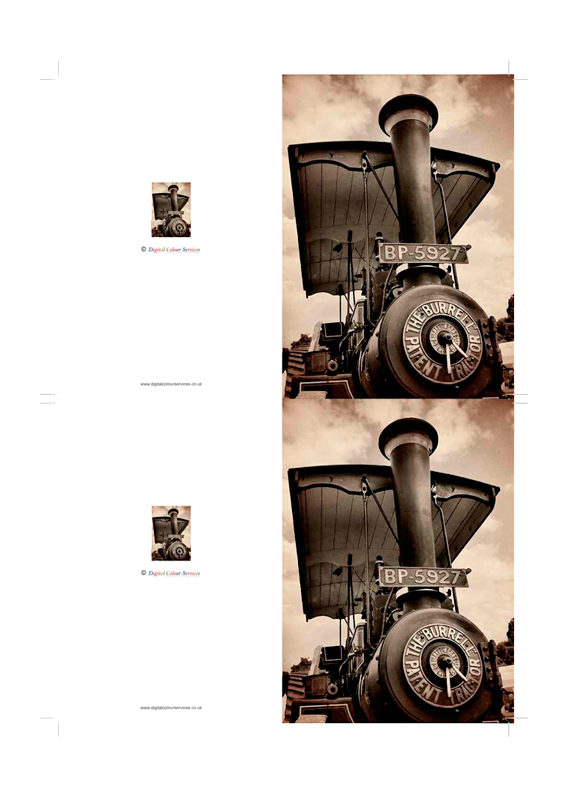
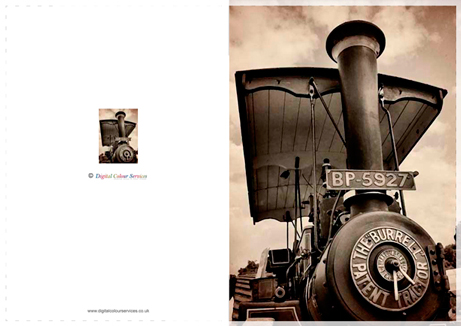
| What is bleed and why do we need it?With greetings cards when you supply us with files for printing, unless you tell us otherwise, we will assume the image is intended to fill the front of the card, i.e. to bleed off the edge.
Much like most home printers the presses we use to print your greetings cards can’t print ‘edge to edge’ of the sheet so in order for us to achieve this full face coverage we print it on a bigger sheet of card and then cut it to size afterwards. If we were to set up the image at the same size as the finished card then any slight movement that may occur during printing or trimming, even half a millimetre, could leave a white sliver on the edge of the card, definitely not the finish we’re after.
To compensate for any movement and to make sure all of the front of the card is covered by image we use part of the picture as a bleed allowance to ‘overlap’ the edge of what will become the finished card size, this ensures that, after trimming, all of the card front has image printed on it. We use a standard 3mm bleed allowance and this applies to EACH cut edge of the card. When selecting and editing your images for printing please remember that this area of the image will get trimmed off so please, please, make sure nothing important is in the bleed area. We would also recommend leaving a 5mm margin around the edge of the image as a 'quiet' area, again not containing any important image or text, firstly to ensure nothing inadvertently gets trimmed off with any movement but also, from a design point of view, it stops things from looking like they're falling off the edge of the card.
You can also allow 3mm for the centre of the card, even though we only need to have 1mm to cover the spine, we can adjust this when we layout the cards. All of the various measurements and dimensions for each card size can be found under the 'Specifications' tab on their respective pages. It may be that your original just doesn't have the space available at the edge for the bleed allowance and will lead to undesirable cropping of important areas. The options you have then are either to create the bleed with image editing software, programs such as Photoshop or GIMP allow you to 'clone' the edges or, if you don't feel this is suitable or something you could easily achieve, then we can print the images with a border instead. |


